After I was digging into resin printing very deeply for over a year now and just did FDM printing besides, it was the time now to change focus and see what FDM has to offer nowadays.
As FDM printing seems to be much easier when it comes to safety measures, the technical background needs far more effort. Almost all resin printers nowadays are consumer-grade plug&play machines, but with FDM printers it seems to be different. They really need a lot of maintenance, repairs and optimization before they work exactly as you want them to work for all the files you want to print.
My prime example here was the Anycubic Vyper (in the process of being replaced with the Kobra 2 Pro), which needs a lot of in-depth technical knowledge and skillful hands to make it work good. On top, experience may change a lot depending on the file and the filament you are using and surprisingly even from individual machine to individual machine of the exact same series.
Consumer-grade plug&play machines are still rare-ish and expensive. But the Bambu Labs machines are a perfect example for the kind of machinery you want to have.
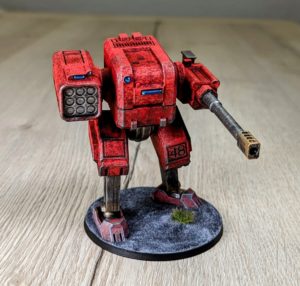
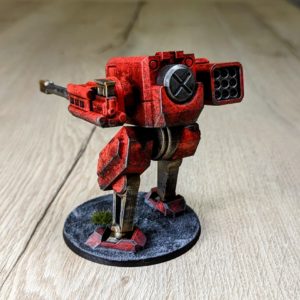
This happy little fellow was printed on Bambu Labs P1S in single pieces, glued together, basecoated black and just painted with stippling technique (to cover up the layer lines a bit) and then just good old drybrushing. There was no post-processing neccessary. Print settings were at 1.6mm layer height and I used Elegoo black PLA for all of the parts.
To archieve similar results on a cheap “bed-pusher” printer, you need to put in a lot of work, optimizing and even replacing some parts to have a individually “modded” version of the printer. Also it is up to you to research about the weak parts of your printer models to know what exactly needs replacement.
Phew! So suddenly your hobby turns from “3d prints” to “3d printers”! 😉

